A Long, Long Time Ago...
But I finally finished building and flashing my Lily58Pro keyboard. Along the way, I made some mistakes and discarded some ideas. In this blog post, I want to share my experiences and show off the finished setup.
So here it is:
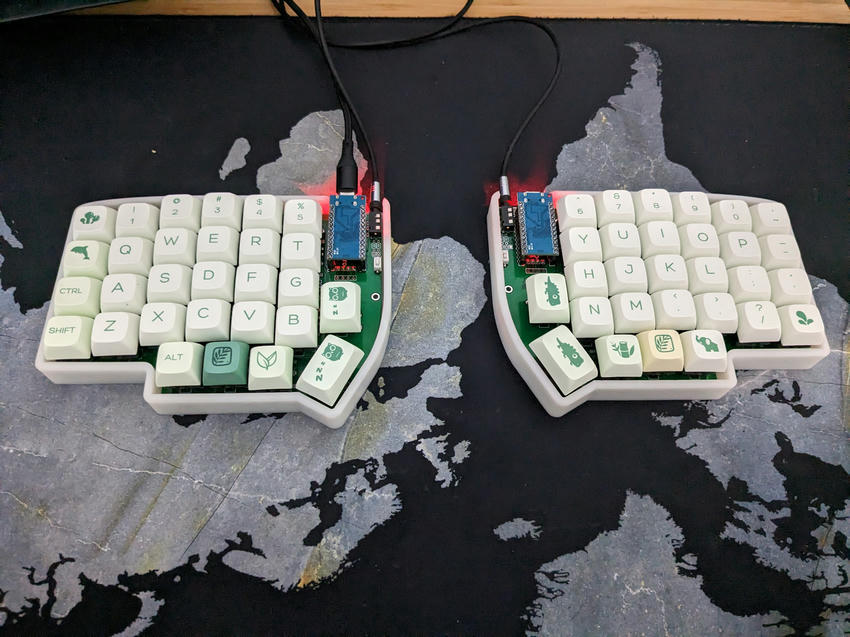
The Good, the Bad and the Ugly
The good news is that I was able to significantly improve my soldering skills, and I even have 2 extra sets of PCBs.
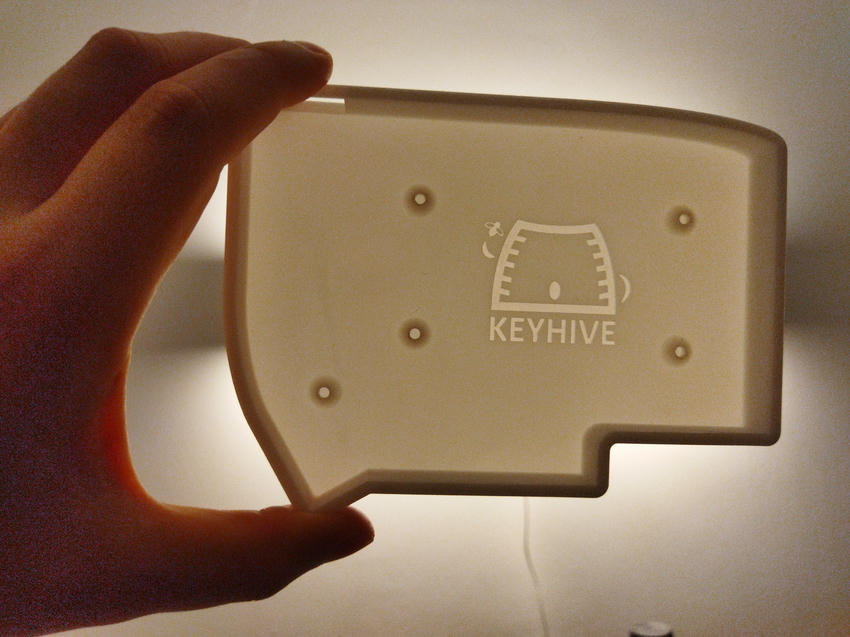
Now for the bad and the ugly stuff that others can learn from. I had a case and plate 3D printed in white, slightly transparent nylon from JLCPCB. What I didn't know was that you can't melt threads into nylon. Under heat, nylon only expands, and in the worst case, structures break and the socket is destroyed. Nevertheless, I managed to embed the threads relatively firmly in the case. Another disadvantage of the case is that I used relatively exotic threads for it, and the spacers were also difficult to find. Ultimately, I can't use the plate for the switches, which is a shame because I really like the case, and if I were to add underglow, it would look even better. Here's a picture of just the case:
I also learned some hard lessons with the chips:
- Once the pins are in the PCB, it's impossible to desolder without a hot air station.
- Be meticulous about which side of your keyboard you're soldering...
- Pay attention when buying chips: Does the chip have enough memory for the firmware with the features you want?
After initially using the Pro Micro ATMEGA32U4, I switched to an RP2040, which has significantly more memory and is easier to flash. You can simply mount it, copy the compiled firmware, and unmount it. Very convenient, and there are also bash scripts in the qmk repo for building the firmware with docker.
Furute Steps
Currently, I'm very happy with the keyboard. Initially configured with many layers, I gradually streamlined the config and organized the most important keys around the home row. But I'm not done with the Lily yet. Firstly, I need a new case, mainly because of the plate for the switches. Right now, they're just sitting in the PCB, so if I try to remove a keycap, I also pull out the switch. Secondly, I want to make the keyboard much quieter. For that, I've already ordered some parts, such as foam pads for the PCB and nylon rings for the keycaps. I'm also interested in the new Haimu Heartbeat linear switches, but they're currently not available anywhere. But I would replace the springs, as the stock ones need already more weight than my alpaca switches and I want to reduce this a little.
What else is going on? My next project (or should I say old project) will be my 3D printer. I already have some parts for the Hypercube, so it's time to make some progress on that front. Lately, I've found myself needing cases, brackets, or other small tools and parts that I could've quickly printed myself if the 3D printer would've been already finished (thanks past me!).
In the distant future, there will also be more builds of other keyboards. For example, I recently came across the Kimiko, which is a SoflV2, but the rotary encoder can also be installed on the outermost thumb button, which allows me to have normal switches for the 2 keys in the middle like my Lily58 has currently. For on-the-go use, I'd also like an even more compact Bluetooth version. Here, it could be a Ferris with low-profile switches and a Nice Nano with Bluetooth. We'll see.